Grilled Pizzas
on Jul 08, 2013, Updated Jul 17, 2020
This post may contain affiliate links. Please read our disclosure policy.
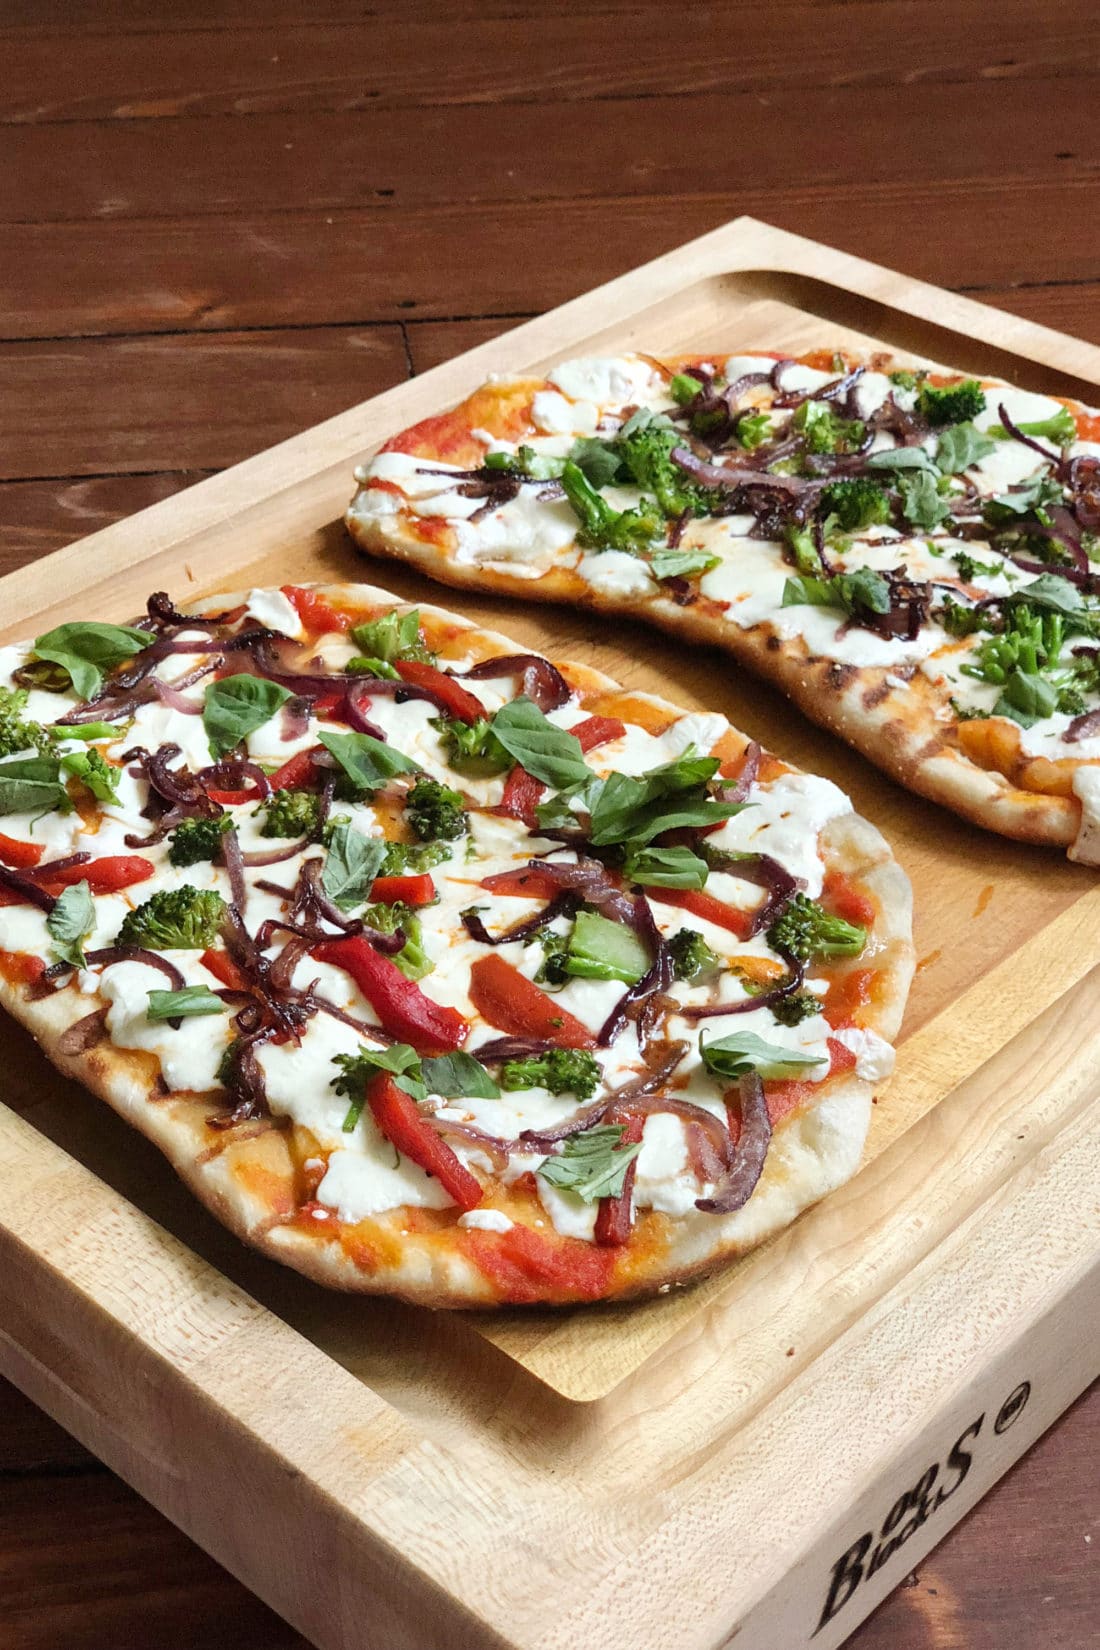
Arguably the best food on the planet. This is simply the best way to cook pizzas during the summer, and it's so easy. No pizza stone, the pizzas cook right on the grill!
Pizza is arguably The Best Food on the Planet, according to most kids (and most everyone else); sometimes even bad pizza is good. And, your family likely has its fair share of pizza in the given course of a month. But if you want to make your kids’ heads explode, pizza on the grill has the capacity to amaze and dazzle like few other dinners.
Once you get the hang of it, you’ll make this a summertime staple. You can stick with tomato sauce and cheese, or you can get inventive with the toppings (see below). This recipe looks long but only because it has lots of advice and options—the actual time it takes is quite reasonable.

How to Grill Pizza:
Here are the four major tips to remember when cooking pizzas on the grill.
- Let the dough “relax,” and handle it gently. Realizing that word relax is so alien to moms in general, in this case it should be interpreted as letting the dough rest, so that the gluten in the dough that has been activated by handling it or punching it down is given a chance to unclench, making the dough more pliable and supple. (Note to family: If we moms were given more chances to relax and unclench we would likely be more pliable and supple, too.)
- Make sure your grill is super clean: If is food or charred bits from a previous grilling session, it will get onto your pizza for sure. The dough is placed directly onto the grill grates, they need to be sparkling clean and very lightly oiled.
- Adjust the heat as needed. Watch the grill temperature. If it’s too hot, the pizza can scorch and if it’s too low it might stick or come out soggy.
- Turn the crusts over. Turning the crusts over after three minutes or so means that the firmed-up bottom becomes the top crust, and now you can layer on your sauce and cheese and toppings and not end up with an undercooked layer of dough underneath the toppings.
Arguably the best food on the planet. This is simply the best way to cook pizzas during the summer, and it’s so easy. No pizza stone, the pizzas cook right on the grill!
Tweet This
Once the bottom crusts are ready to be turned over, you can do this right on the grill and add the sauce and toppings there or, if the heat is too much for you, turn them cooked side up onto oiled baking sheets, load on the toppings, and carefully transfer the pizzas back to the grill.
Do I need a Pizza Stone to Grill Pizzas?
Nope. You can use one, certainly, but the recipe below doesn’t call for one.
Grilled Pizza Toppings:
The possibilities are endless (and pretty much the same as for any pizza, as you’ll notice):
- chopped cooked broccoli
- pepperoni
- sliced black olives
- sautéed sliced mushrooms
- sautéed chopped onions
- roasted or sautéed bell peppers, in strips or pieces
- chopped or sliced fresh tomatoes (in addition to or instead of the sauce
Possible Grilled Pizza Topping Combinations:
- sausage and provolone
- blue cheese and figs
- Greek olives and feta
- broccoli and fontina
- bacon, scallions, pepperoncini, and mozzarella
Prepping Toppings Ahead of Time
Homemade pizza is the poster child for Fork in the Road cooking; let the kids—and your friends—invent their own combos. You will want to precook some of the more dense raw topping ingredients, like broccoli, onions, or sliced red peppers, and have all of the toppings sliced, slivered, or grated and ready to go before you begin the grilling.
You can do this a day ahead of time and store everything in the fridge. For a crowd, you can double, or even triple, the recipe as desired.
Great Pizza Recipe for Kids:
It’s no secret that pizza is one of the most kid-friendly foods of all time. And in my lengthy grilled pizza experience, they are completely dazzled to see it made on the grill. And they can help, by shaping the dough, and later adding the sauce and topping their own pizzas. 100% have the kids do this off the grill; you’ll pull the dough from the grill after the bottom firms up.
Flip it onto an oiled baking sheet, take it to the table, let the kids spread over sauce, sprinkle on cheese and pick their toppings. Then you return the pizzas to the grill grate and finish the cooking.
If you think your kids will be annoyed by the nicely rustic texture that cornmeal gives the dough when you use it to form the grilled pizza dough into the crust shape, you can use plain flour, but it’s nice to have that bit of pleasing crunch in the crust.
Other Pizza Recipes:
- Cast Iron Pan Pizza
- English Muffin Pizzas
- Mini Pizzas
- Fontina and Havarti Cast Iron Pan Pizza
- Pizza Quattro Stagioni
- Clam Pizza
- Mexican Pizza with Avocado Crema
- Mushroom, Mozzarella, and Cherry Tomato Pizza
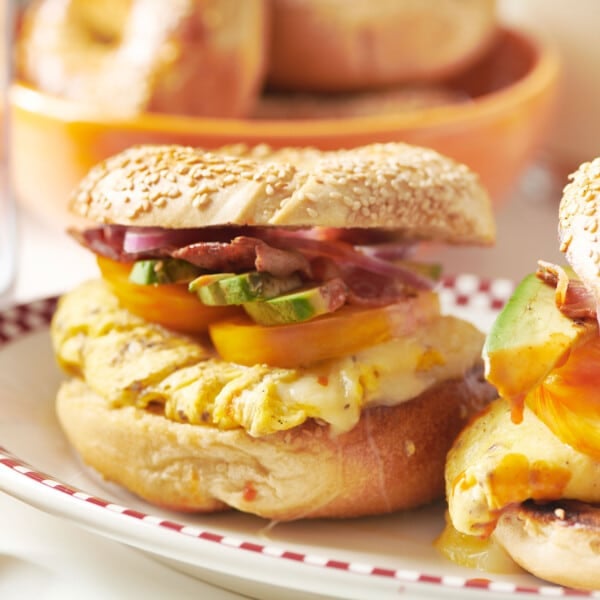
- Bacon and Egg Breakfast Pizza
Also see: Homemade Grilled Pizza Dough and 10 Things to Do to Get Your Grill Ready for Summer.
Pin this now to find it later
Pin It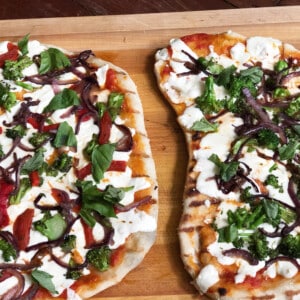
Grilled Pizzas
Equipment
Ingredients
- 1 ball (1 pound) pizza dough store-bought, or Homemade Pizza Dough, thawed if frozen
- Olive oil for coating the dough and baking sheets
- Coarsely ground cornmeal or all-purpose flour for rolling and stretching the dough (see Note)
- 1 cup store-bought or homemade tomato sauce or pizza sauce
- 2 cups (8 ounces) shredded mozzarella cheese preferably fresh
- 1 ½ cups toppings approximately; see recipe into for ideas
- ¼ cup slivered fresh basil leaves optional
Instructions
- If you’re using the Homemade Pizza Dough, follow the recipe directions. If you’re using store-bought dough, divide the dough into two balls, gently coat each with olive oil, and let the dough come to room temperature either in a large bowl or on the counter, covered with a dish towel, about 1 hour.
- Lightly coat two baking sheets with olive oil. Sprinkle a work surface with cornmeal or flour. Gently begin to stretch or roll each ball of pizza dough into a 12- to 14-inch circle or a rectangular shape. You will need to stretch or roll the dough a bit, then give it a few minutes to relax before stretching it again, so that it doesn’t keep springing back into a smaller shape. The goal is to make the dough less than 1⁄4-inch thick (it puffs up on the grill). Give the dough one final stretch. Don’t worry about a small hole or two and definitely don’t worry about an uneven shape; that’s part of the pizzas’ charm. Transfer the shaped dough to the prepared baking sheets.
- Preheat the grill to medium-high. Make sure your grill grates are clean, and lightly oil them.
- Put the tomato sauce in a small bowl. Bring it along with a pastry brush, some olive oil, the mozzarella, and the dough on the baking sheets.
- Pizza with tomato sauce and mozzarella is delicious, but if you’re adding other toppings (Fork in the Road), bring them to the grill, too, so they are prepared and ready to go.
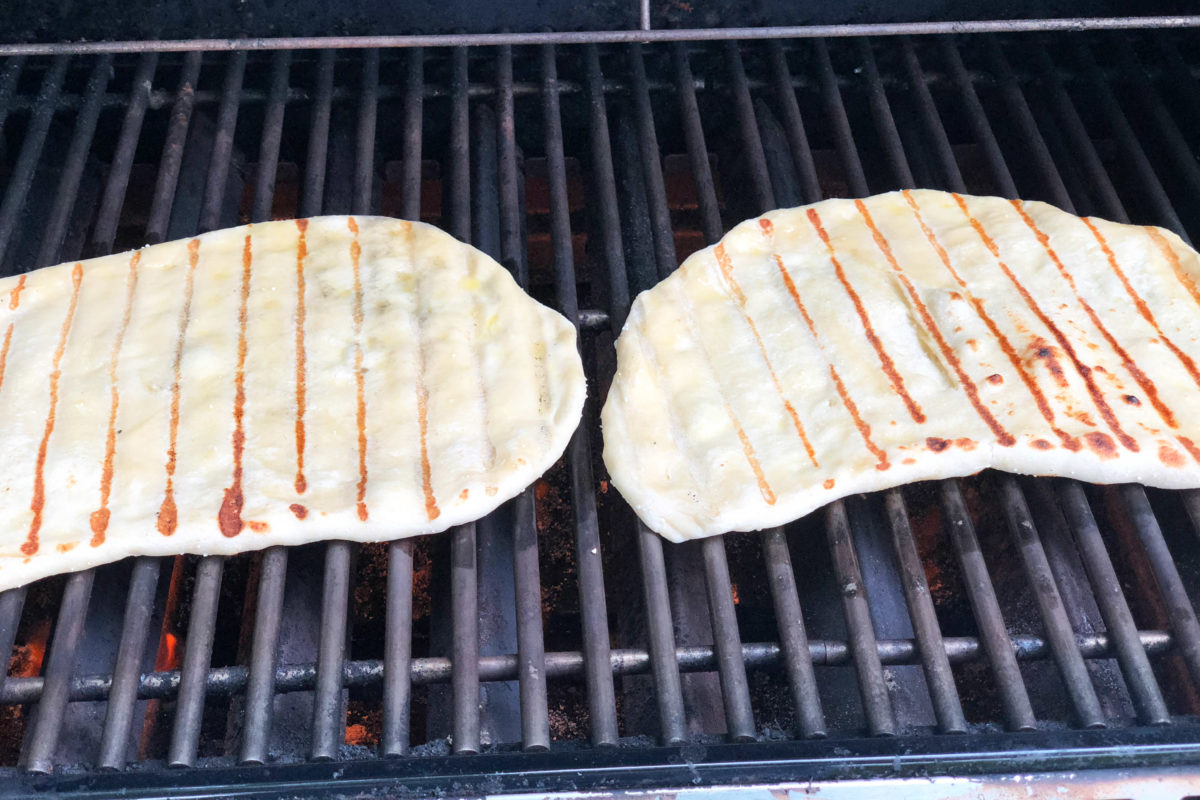
- Brush the top of each stretched pizza dough with olive oil. Using a swift motion, pick up each circle or rectangle of dough by one edge and flip it oiled side down onto the grill grate. Close the grill lid and don’t open it for 3 minutes, which gives the dough a chance to rise a bit and firm up.
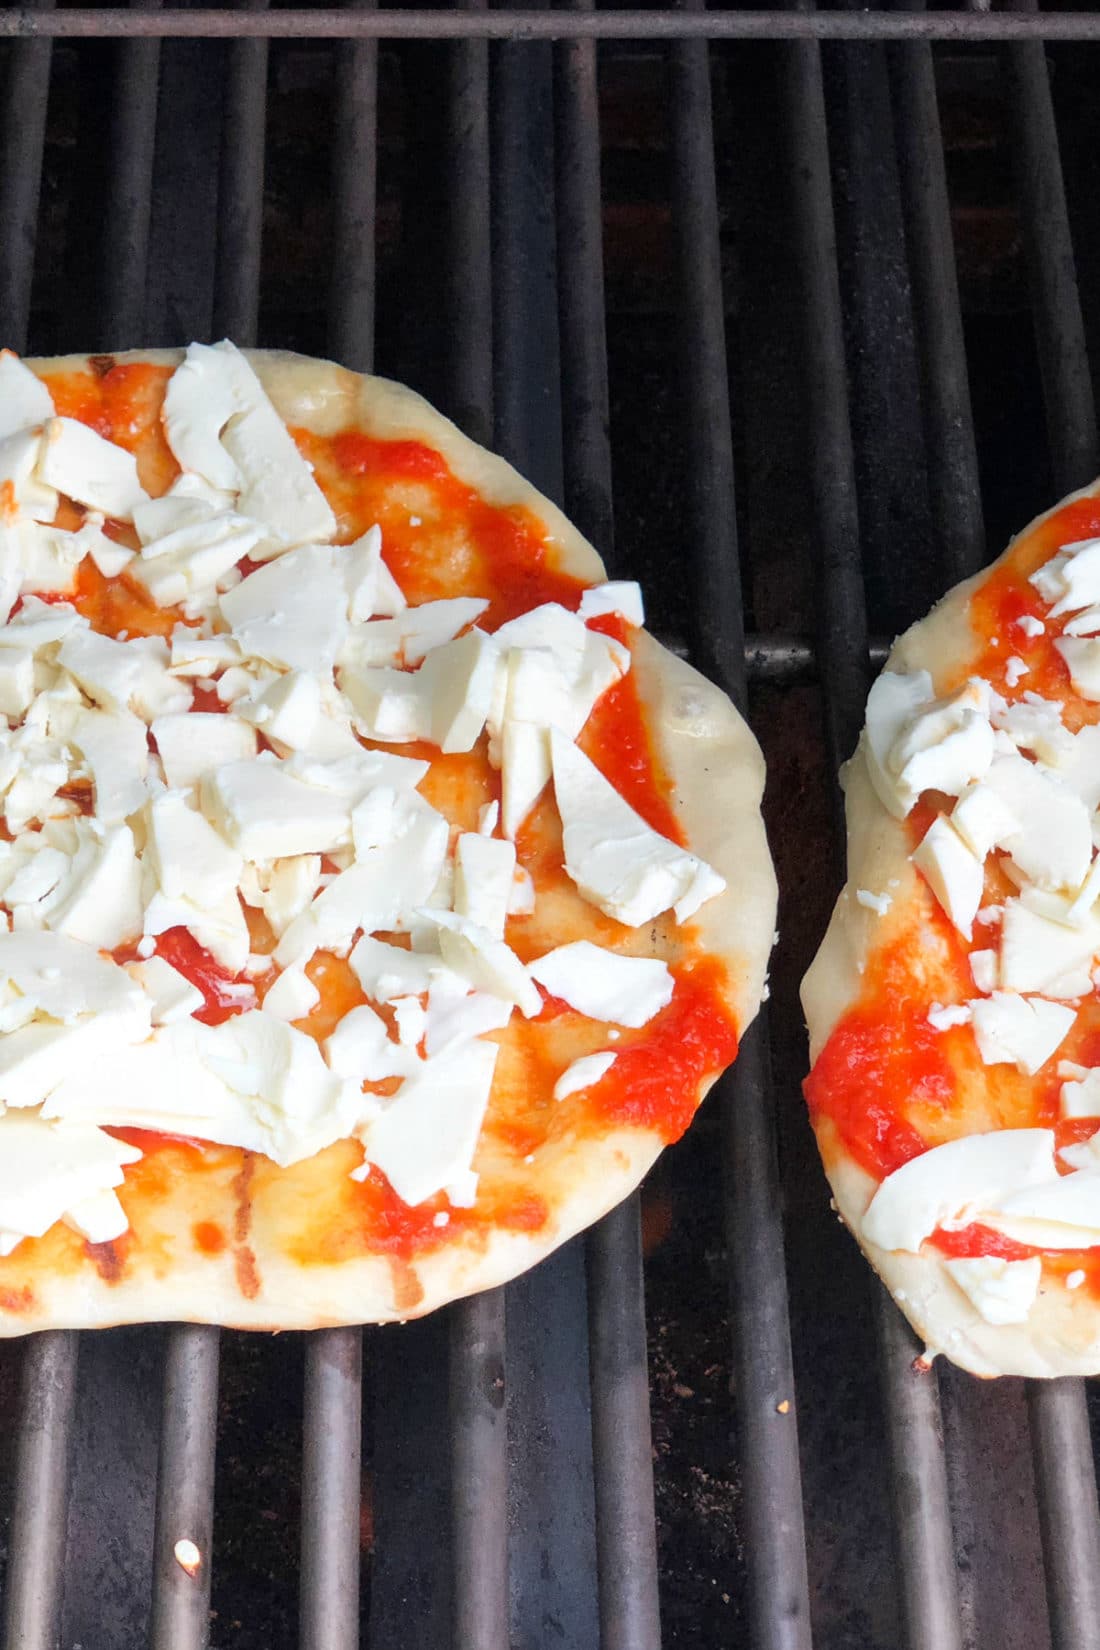
- Open the lid, peek at the underside of the dough, and check to see that nice grill marks have formed. Lightly brush the uncooked tops of the crusts with olive oil and turn over each crust. Reduce the heat to medium-low. Carefully brush the entire surface of each crust with 1⁄2 cup of the tomato sauce and sprinkle 1 cup of the mozzarella evenly over each top. Sprinkle any toppings, if you are using them, evenly over the pizzas. Close the lid of the grill and let the pizzas cook for 4 minutes, then begin checking to see if they are done. The cheese should be completely melted and the crust should have a nicely browned underside and be stiff when you lift it with tongs.
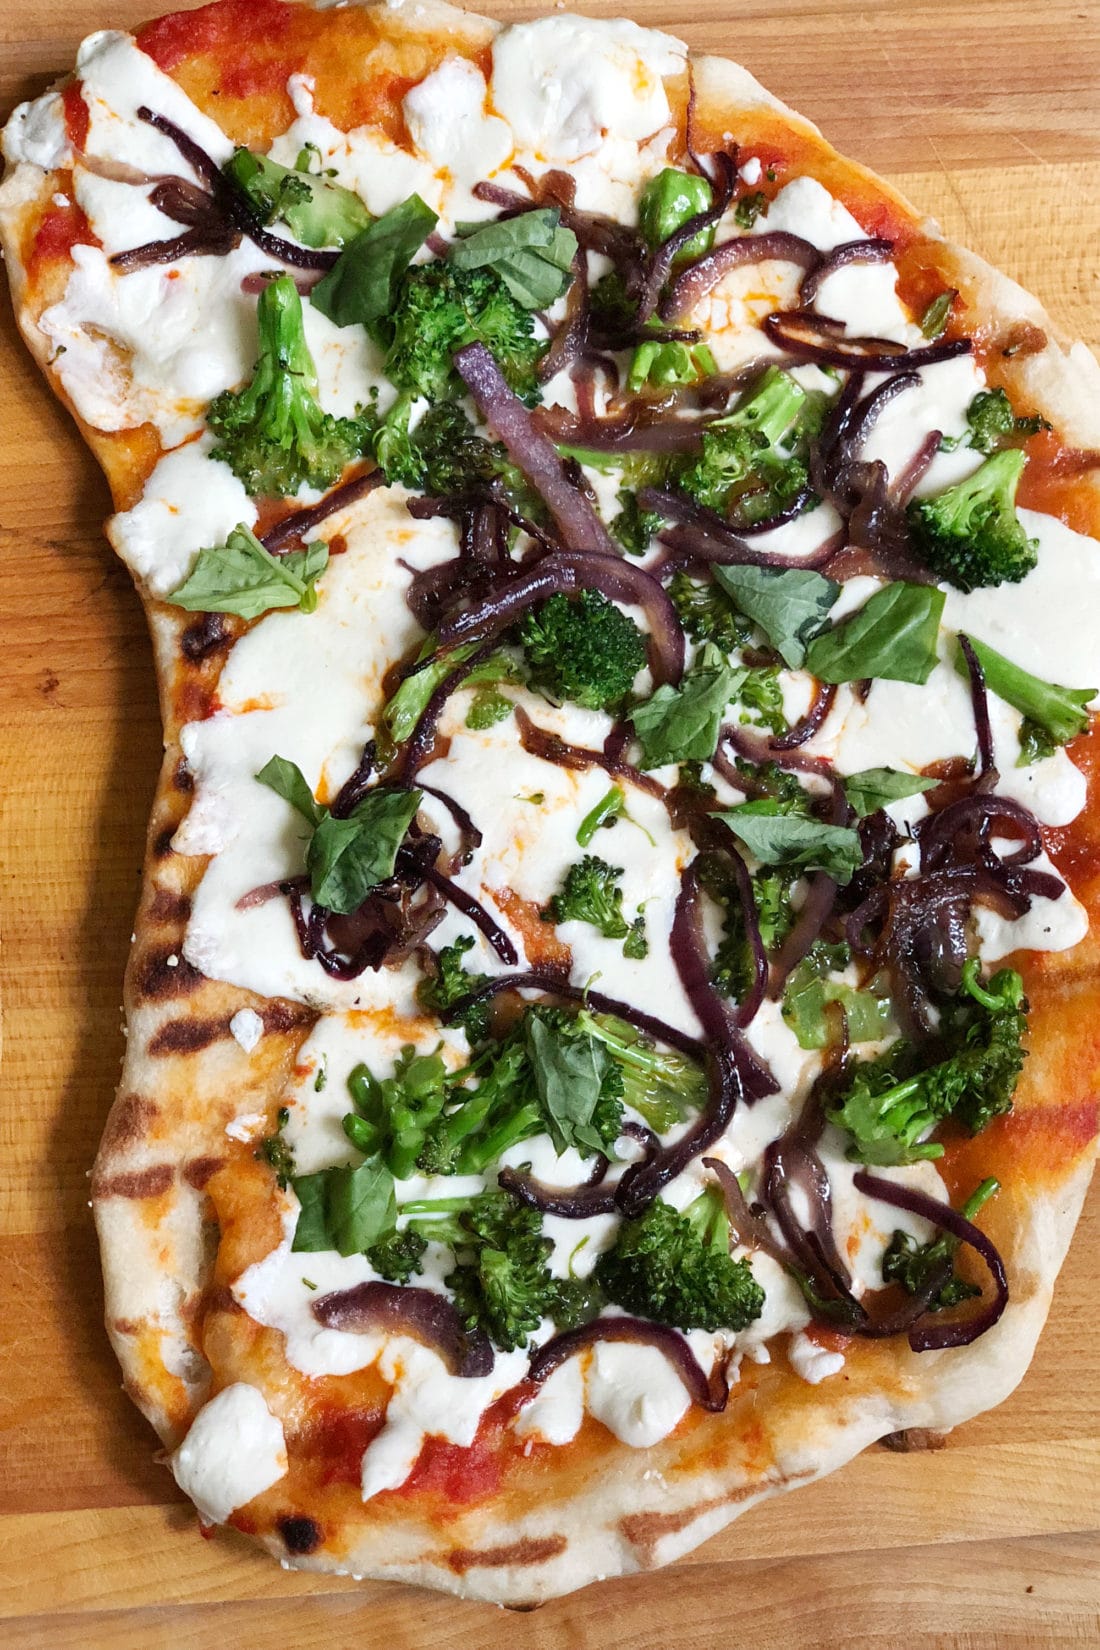
- Remove the pizzas from the grill, sprinkle them with the fresh basil, if using, and cut the pizzas into pieces. Now you get to relax.


Pizza Friday all summer long!
Grilled pizza recipe